REVIEW · PARIS
Photography workshop in Paris
Book on Viator →Operated by Aperture Tours · Bookable on Viator
Paris is more fun when you frame it.
This private Paris photography workshop turns sightseeing into real shooting practice, with stops built around light, angles, and composition. I like that you get hands-on coaching for manual settings, not just random photo spots. I also like the small size, capped at four people, so the teacher can correct your technique on the go. One consideration: you’ll be walking and standing a lot, especially if you choose a day/night departure.
A big reason this works is the teaching style. Guides like Clara and Julia are described as patient and encouraging, and William is praised for being on time and prepared for longer day/night sessions. You’ll leave with ideas you can reuse the next time you’re in a city at dusk.
In This Review
- Key things that make this workshop worth your time
- A Paris Photo Lesson Built for Small Groups
- What You’ll Learn: Composition, Angles, and Light Tactics
- Planning Your Day: Daytime vs Night Shoot
- Price and What You Get for $172
- Stop 1: Bastille’s Backstreets and Courtyard Secrets
- Stop 2: Butte-Montmartre’s Cobblestones and Staircase Details
- Stop 3: Canal Saint-Martin’s Footbridges and Long-Lens Tricks
- Stop 4: Latin Quarter Alleys, Luxembourg Gardens, and Pantheon Lines
- Stop 5: Olympiades and Brutalist Contrast Near Chinatown
- How to Get Better Fast During the Walk
- Weather, Walking, and When Comfort Matters
- Who This Workshop Is Best For
- Should You Book This Paris Photography Workshop?
- FAQ
- How many people are in the group?
- Is the tour private?
- How long is the workshop?
- What does the $172 price include?
- Do I need to bring a camera?
- Does the tour run in bad weather?
- Are there multiple departure times?
- Do I get a mobile ticket?
- What is the cancellation policy?
Key things that make this workshop worth your time
- Max 4 people means faster feedback and less waiting around
- Day-to-night shooting helps you learn how to read changing light
- Camera technique focused: composition, angles, and light tactics you can apply anywhere
- Real neighborhood photo walks beyond the obvious postcards
- Multiple departure times so you can pick the light you want
- No entry fees at the stops listed, so your budget stays cleaner
A Paris Photo Lesson Built for Small Groups
If you’re tired of tours that point and move, this is the opposite. You’re not just seeing Paris. You’re learning how to make images of Paris while you walk.
The format is a private workshop with a professional photographer teacher and a local guide. The group stays tiny (up to four), which matters a lot when you’re trying to learn camera settings in real time. If your shutter speed is off or your framing keeps cutting off important lines, you don’t want to guess and hope. You want someone to spot it quickly and explain what to change.
This is also the kind of experience that works well for beginners. One review highlights the shift from auto mode into manual, with the guide explaining how to start using the camera’s controls in a practical way. Another emphasizes encouragement and calm support, which is exactly what you need when you’re trying to learn without feeling rushed.
You can also read our reviews of more tours and experiences in Paris.

What You’ll Learn: Composition, Angles, and Light Tactics
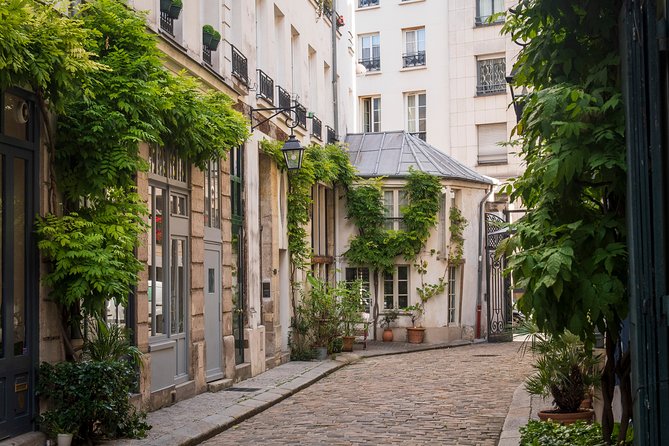
The heart of the workshop is technique. You’ll practice how to use your camera to its best potential by focusing on composition and how to tackle different lighting situations.
Here’s what that tends to mean during a Paris walk:
- You’ll work on how to frame scenes, not just where to stand.
- You’ll experiment with camera angles so you get more than the obvious “front view” shot.
- You’ll learn tactics for daylight versus evening, where shadows, reflections, and contrast can change fast.
Paris is great for this because every neighborhood offers different visual “problems” to solve. Straight lines in one area, crooked alleys in another. Dark doorways, bright shop fronts, and wet-looking stone textures after light rain. If your teacher is doing their job, you’ll learn what to adjust when the scene shifts.
And since your group is small, you’re more likely to get personalized tips instead of generic instructions. Reviews mention patient teaching and inspiration to find your own style, which is a subtle but important goal. The best outcome isn’t just getting a few cool photos today. It’s learning enough to keep experimenting on your own after you go home.
Planning Your Day: Daytime vs Night Shoot
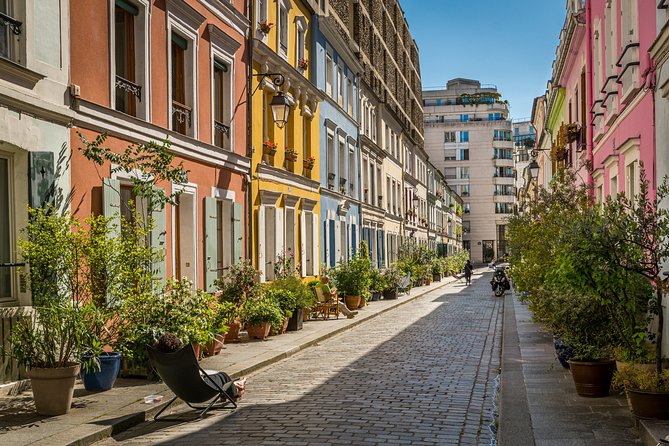
The experience is described as a daytime and nighttime photography walking tour, with a private workshop feel. You might see around three hours listed as an approximate duration, but there’s also a day/night version that can run long into the evening.
One review gives a clear example: a day/night session running from about 5 pm until midnight. That matters because learning at night isn’t just “take more photos.” It’s learning how to handle low light, darker backgrounds, and the way lights reflect off stone and water.
So think about what you want from the session:
- If you’re new and want a gentler start, a shorter daytime-focused departure can help you get comfortable with settings first.
- If you want dramatic city color and long shadows, pick a later departure and plan for a longer walk.
Also remember: the tour operates in all weather conditions. That doesn’t mean it’s “comfortable no matter what.” It means you should dress for it. Bring a rain layer if you expect showers, and wear shoes you trust. The best technique in the world won’t help if you’re halfway through the walk thinking about your aching feet.
Price and What You Get for $172
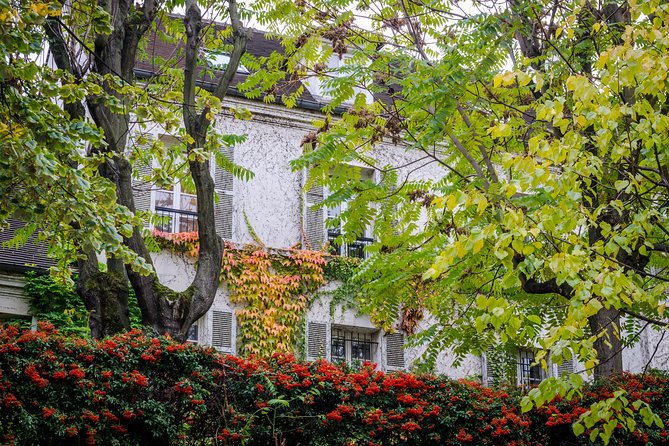
For $172, you’re paying for more than a guided walk. You’re paying for instruction from a professional photography teacher, plus local guidance, in a session limited to four people.
That value works best if you’re actively trying to learn camera skills. If you already know manual exposure and composition, you may still enjoy the locations and feedback, but the biggest benefits come from guided practice.
You should also factor in what’s not included. A camera is not provided, so you’ll want to arrive with your own gear and know how to switch modes. If you’re still stuck on auto, that’s exactly the learning opportunity this workshop targets, but you’ll still need access to your camera settings during the walk.
The mobile ticket is also a small convenience win. No fuss at check-in, and you can keep everything on your phone.
Stop 1: Bastille’s Backstreets and Courtyard Secrets
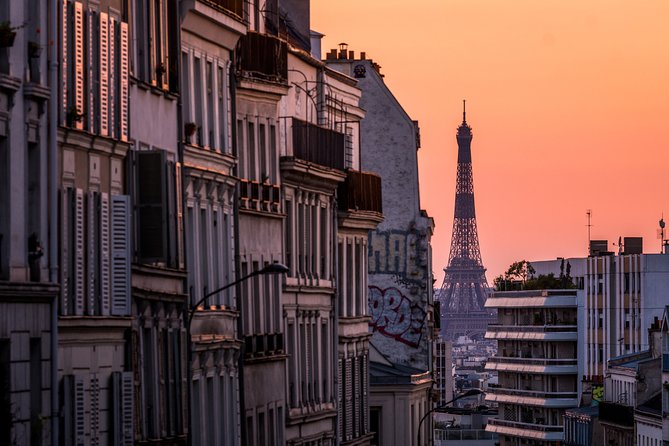
The Bastille area in the 12th arrondissement is a smart warm-up stop because it offers contrast. You’re close to major sights, but you can quickly find quieter corners that feel less like a postcard and more like lived-in Paris.
Expect to move behind the Place de la Bastille, into a side of the city that shows old craft history and everyday texture. There are interior courtyards and old-built spaces that can give you strong geometry for composition. There’s also mention of an old railway line turned into a park, which becomes a vantage point for different perspectives. In practical terms, that means you’re likely to try a few “stand here, shoot there” framing exercises—perfect for learning how to control lines and depth.
As you stroll, you’ll also pass areas like the Arsenal and the Marché d’Aligre. These kinds of stops are useful for photography because they’re full of motion and detail, even if you’re just waiting for light to hit a doorway or catch movement across cobbles.
One drawback to consider here: Bastille’s “different Paris” vibe can be quieter than the most famous landmarks, so if you’re hoping for only high-recognition icons, you’ll want to balance that with later stops.

Stop 2: Butte-Montmartre’s Cobblestones and Staircase Details
Montmartre is the place where you can practice creative angles fast. The area around the Butte looks simple on a map—until you start walking those small streets and realizing how many layers there are.
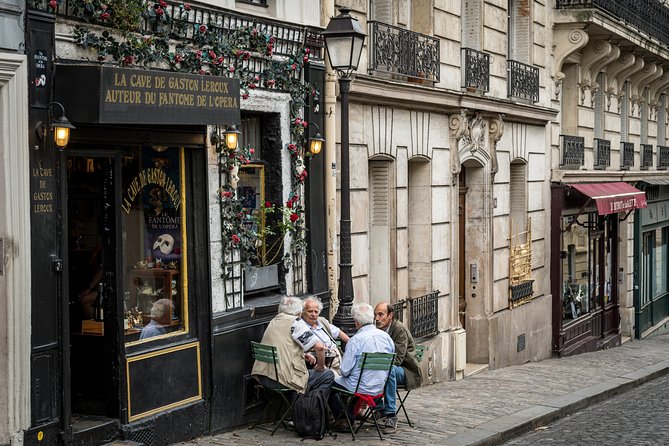
You’ll shoot cobbled streets, old houses with wooden shutters, and winding alleys that naturally push you to change your camera height and perspective. You’ll likely spend time climbing a peaceful staircase, which is great for photography because stairs create strong leading lines and easy framing. Even if you’re not aiming for a grand view, stairs help you practice consistency—keep the horizon level, line up verticals, and use the background to separate subjects from the crowd.
The Sacré Cœur view is the headline, but the workshop focus goes beyond that single viewpoint. You’ll work with quieter “details Paris” moments like secret gardens and a cemetery tucked under a bridge. Those spots are excellent for learning how to photograph texture and mood rather than only wide scenes.
If you’re a beginner, Montmartre can be a confidence builder. There’s so much to shoot that you’ll get plenty of practice. Just be ready for crowds in the most famous areas and plan to follow your teacher to better shooting positions.
Stop 3: Canal Saint-Martin’s Footbridges and Long-Lens Tricks
The Canal Saint-Martin district is where Paris photography gets extra fun because the canal creates reflections, repeating lines, and built-in framing.
From Place de la République toward Buttes-Chaumont, you’re in an area described with a “Bon Chic Bon Genre” feel—Paris that mixes charm with local life. Footbridges and rows of trees give you built-in composition elements. Even a simple walk can turn into a series of repeating patterns, which is fantastic for learning how to spot symmetry and leading lines.
Parisians hanging out near the water is another big advantage. You don’t need to stage anything. The scene provides human scale and movement, which makes your photos feel more like a moment and less like a brochure.
One practical tip mentioned is using a long lens from the Quartier Haut to photograph Montmartre and the Eiffel Tower from a distance. If you’re using a telephoto, this is exactly the kind of assignment you want: isolate a background, compress the scene, and learn how focal length changes the feel of the city.
If you only have a standard lens, you can still get great results here. Focus on bridges, reflections, and the canal’s visual lines rather than trying to force distant landmarks into every shot.
Stop 4: Latin Quarter Alleys, Luxembourg Gardens, and Pantheon Lines
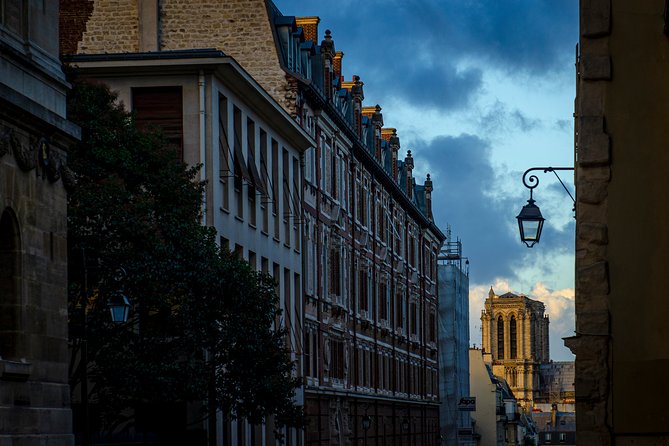
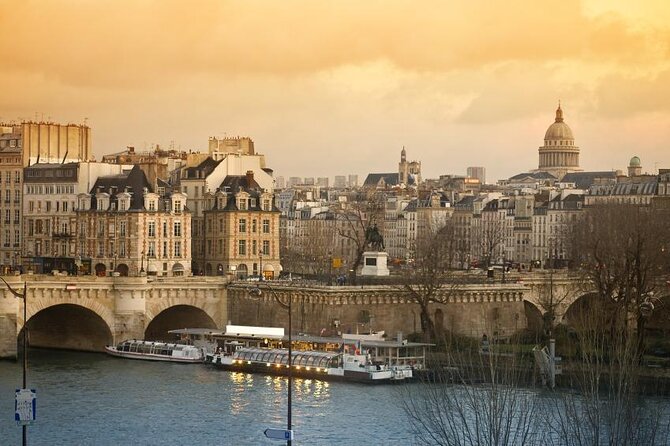
The Latin Quarter is great for photographers who want variety in one area. You can work on bigger compositions near the Jardin du Luxembourg and then shift into tight alleys where the lines twist in surprising ways.
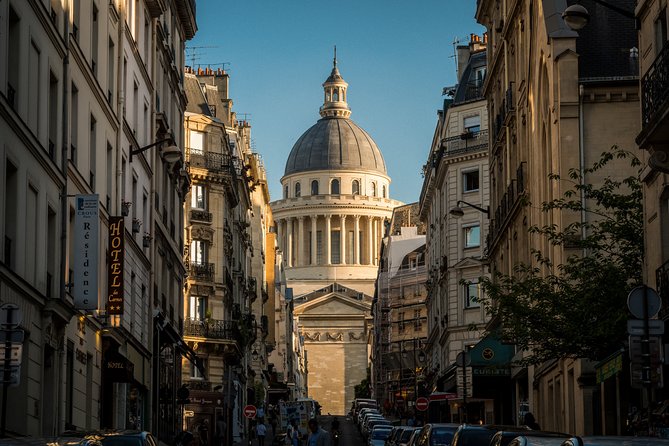
The Jardin du Luxembourg and Pantheon view give you a clear shot goal, but the real magic for photography is in the hidden alleys and intersections. When you practice, those “in-between” streets are where you learn faster. You can try turning your camera slightly, changing the height, and using the corner of a building as a frame. These are small adjustments that create noticeably different photos.
There’s also a chance to include Arènes de Lutèce, a stone’s throw from the Institut du Monde Arabe area. That combination matters: it lets you photograph old stone near more modern architecture. Learning to include both styles without making the image look messy is exactly the kind of composition problem photographers enjoy solving.
For you, this stop is a chance to work on consistency. Use the same camera settings approach across multiple scenes, and you’ll understand what you’re doing instead of changing everything randomly.
Stop 5: Olympiades and Brutalist Contrast Near Chinatown
Olympiades is a contrast stop, and that’s a good thing. It’s described as a unique Paris neighborhood built around brutalist architecture and a thriving Chinatown.
The Italy XIII housing project started in the 1960s and is tied to an idea of regenerating urban development in Paris. Practically, what you’ll photograph is different from the classic postcard areas. You’ll likely find stronger geometric shapes, more stark lines, and an atmosphere that feels less like “everyone comes here for photos” and more like “this is where the city lives.”
That contrast makes it useful for learning. It’s easy to shoot great images in photogenic areas like Montmartre. It’s harder to make good frames in places with less obvious charm. A teacher-led workshop helps you see compositional opportunities even when the scene looks more industrial or unusual.
How to Get Better Fast During the Walk
Even with a great teacher, you’ll learn more if you show up ready to practice. Here are a few ways to make the workshop click.
Bring your camera and know the basics:
- If you can, plan to use manual or at least semi-manual modes. The workshop is built around getting you off auto.
- Set your camera up before you meet so you’re not doing menus while your teacher is trying to explain light.
Be ready to change settings:
In low light, your decisions affect exposure quickly. Night shooting is where you learn fastest, but only if you’re willing to try the teacher’s suggestions right away.
Watch for feedback cues:
When your teacher points out framing or technique, repeat the idea immediately. The workshop is moving, so the best results come from short practice bursts.
Also, don’t stress about getting every photo perfect. One of the best skills you’ll pick up is learning how to try and adjust.
Weather, Walking, and When Comfort Matters
Because the workshop operates in all weather conditions, you should dress smart. If it’s cool, you’ll be standing still long enough for light to change. If it’s wet, reflections can become a gift—but only if you can hold your camera comfortably and keep moving.
The route involves neighborhoods on foot and includes both day and night options. That means comfy shoes and a small layer strategy matter more than fancy gear.
Who This Workshop Is Best For
This is a strong fit if:
- You’re a beginner and want to move beyond auto mode
- You want practical tips on composition and light, not just sightseeing
- You like the idea of small-group attention and direct coaching
- You’re excited by day-to-night contrasts and want to learn night photography basics
It’s not as ideal if:
- You expect a hands-off photo tour where you mostly follow along and press the shutter
- You want only the most famous landmarks and nothing else
- Long walking sessions are a problem for you
Should You Book This Paris Photography Workshop?
Yes, if your goal is learning. At $172, you’re paying for the instruction time and the small-group attention that helps you actually improve, especially if you’re shifting from auto into manual settings. The best part is that the teaching is described as patient and supportive, with guides like Clara and Julia helping beginners feel confident, while longer day/night sessions can run late with prepared, practical pacing like William’s.
Book it if you want photos that feel intentional. Pick a departure that matches your comfort level with evening light. And do yourself a favor: bring your camera, wear good shoes, and show up ready to try the teacher’s suggestions immediately. That’s when the workshop stops being a nice outing and turns into real skill.
FAQ
How many people are in the group?
The workshop is limited to a maximum of four people per booking.
Is the tour private?
Yes. It’s a private tour/activity, and only your group participates.
How long is the workshop?
It’s listed as about 3 hours approximately, and there is also a day/night option that can run later into the evening.
What does the $172 price include?
It includes a private workshop, a professional photographer teacher, and a local guide.
Do I need to bring a camera?
Yes. A camera is not included.
Does the tour run in bad weather?
It operates in all weather conditions, so dress appropriately.
Are there multiple departure times?
Yes, you can choose from multiple departure times.
Do I get a mobile ticket?
Yes, the tour uses a mobile ticket.
What is the cancellation policy?
Free cancellation is available up to 24 hours in advance for a full refund.