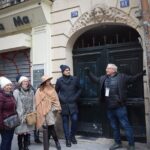
REVIEW · PARIS
Paris Photography Masterclass – Private Photography Lesson
Book on Viator →Operated by Aperture Tours · Bookable on Viator
Paris turns into a photo classroom.
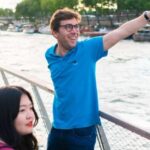
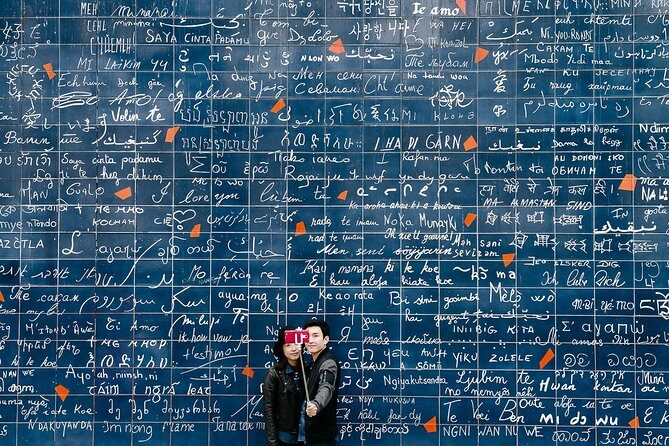
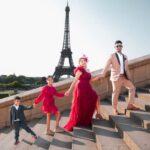
This private photography masterclass mixes classic sights with real teaching, so you’re not just clicking away. You’ll walk key stretches of central Paris and get personal feedback on composition, camera settings, and what to do when light gets tricky. The route also hits easy-to-recognize landmarks like Notre-Dame, the Louvre pyramid area, and the Eiffel Tower over the Seine, which makes it great for beginners and returners alike. I also like that the experience is kept small (up to 4), and guides such as Clara, Michiru, Federica, William, and Alexander are described as patient, encouraging, and focused on your goals.
One thing to consider: the tour emphasizes bringing your own DSLR camera, and weather can change how the walk feels since it runs in all conditions. If you only have a phone, you might still get helpful guidance, but the expectation is a real camera.
In This Review
- Key things I’d circle before you go
- How the Pont Marie to Concorde photo lesson actually flows
- Stop 1: Notre-Dame photos—great for learning framing fast
- Stop 2: Louvre courtyards and the pyramid—how to avoid the common framing traps
- Stop 3: Eiffel Tower over the Seine—angles, light, and confidence
- Stop 4: Place de la Concorde—finish with iconic Paris scale
- Private instruction (not just a walk): what you’ll learn in real terms
- Tripod, rain, and the reality of Paris weather
- Price and value: why $205.59 can make sense
- Who this tour suits best—and who might want a different plan
- A quick playbook for better photos before you even arrive
- Should you book? My honest call
- FAQ
- How long is the Paris Photography Masterclass?
- Where does the tour start and end?
- Is this a private tour?
- What camera should I bring?
- Are attraction tickets included?
- Can I get a refund if my plans change?
Key things I’d circle before you go
- Small group, private instruction (max 4 per booking), so your questions don’t get lost
- Four iconic stops built into one 3-hour walking route from Pont Marie to Concorde area
- Practical photo coaching, including composition and exposure, not just photo spots
- Tripod available on request, useful for longer exposure looks when light drops
- All-weather operation, with flexibility when rain makes the streets slippery or crowded
- Free admission tickets for the included monument/museum photography stops
How the Pont Marie to Concorde photo lesson actually flows
This is a 3-hour private walking lesson in central Paris, starting at 3 Pont Marie (75004) and typically ending near Place de la Concorde by way of Concorde – Quai des Tuileries (75008). The exact end point shifts based on your pace, which is good news if you like to stop often. The route is designed so you’re not hopping around with long transport breaks. You’ll be moving, looking, shooting, and getting feedback in short bursts.
What makes it feel different from a standard sightseeing walk is the focus on your camera choices. You’re not only learning what to photograph; you’re learning how to make the photo work. That’s why composition shows up again and again in guide feedback. One guide helped a solo traveler start shooting with more confidence in manual settings (or at least aperture priority), while another emphasized foreground elements so huge buildings don’t look flat.
The teaching style matters. Many reviews describe guides like Clara and William as patient and clear, with feedback that’s constructive rather than confusing. Another repeated theme: you get tips that are specific to what you’re aiming to shoot in that moment—angles, framing, and how to adjust exposure for the light you have.
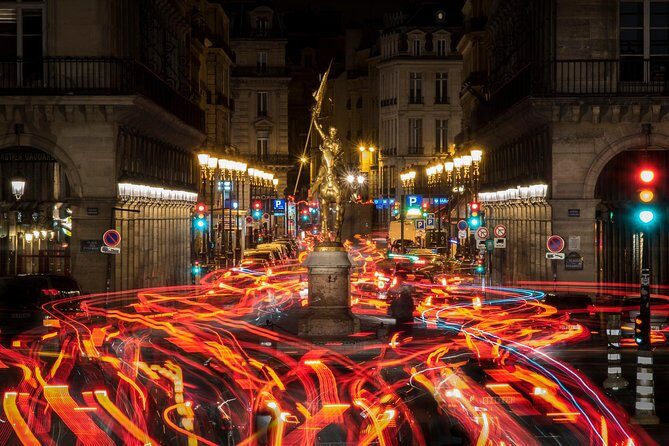
You’ll also like the timing options. You can choose departures across the day, from morning to early evening. That’s handy because Paris light changes fast. Morning can give cleaner skies and easier contrast. Early evening adds mood, plus it often makes night-style settings more relevant if you’re shooting into low light.
You can also read our reviews of more private tours in Paris


Stop 1: Notre-Dame photos—great for learning framing fast
The lesson begins near Cathedral Notre-Dame de Paris. You’ll spend about 30 minutes photographing the cathedral, and the entrance is noted as free for this stop.
Notre-Dame is a smart first assignment. It’s big, detailed, and full of repeating lines. That means it’s perfect for learning the basics of composition without needing a complicated subject. A pro photographer can quickly show you how small changes—moving a few steps left, lowering your angle, or using a building edge as a leading line—can make the shot feel intentional.
Practical tip: for this stop, think in layers. Try a version where the cathedral dominates the frame, then try another where you capture nearby street texture or a foreground element. That second approach is something guides highlight as a way to add depth, especially if you’re photographing a massive monument that can otherwise look like a flat backdrop.
The main drawback here is simple: this is Notre-Dame. Expect other people. A good guide will help you find angles that reduce clutter, but you still need to be patient. Plan to shoot a few variations and don’t get stuck on the first frame.
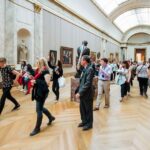
Stop 2: Louvre courtyards and the pyramid—how to avoid the common framing traps
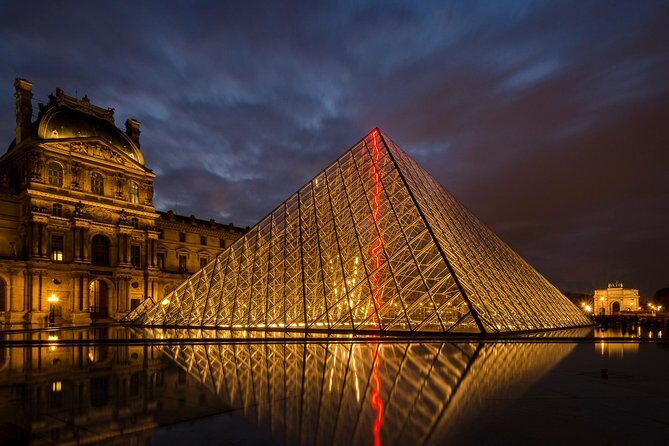
Next comes the Louvre Museum area, again with about 30 minutes of shooting time and free admission noted for the stop. You’ll focus on the Louvre courtyards and the pyramid, which is classic Paris photography territory.
This stop is where you’ll likely get the most direct help with perspective. The pyramid and courtyard geometry can make photos feel sharp and dramatic, but they also make it easy to end up with tilted horizons or awkward crop choices. One guide style you’ll hear about in the feedback: focus on camera setup and exposure choices that match the light, then refine framing so your subject reads instantly.
Here’s what I’d try if you’re learning:
- Shoot a “clean” pyramid frame first.
- Then shoot with a foreground element—something like architectural edges or a signpost—to give scale and depth.
- Finally, try a tighter crop that emphasizes shape rather than full context.
If you’re advanced, you can treat this as a study in lines and symmetry. If you’re new, it’s still approachable because the subject is obvious. You just need guidance so the photo looks deliberate, not accidental.
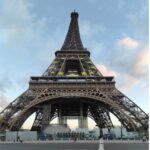
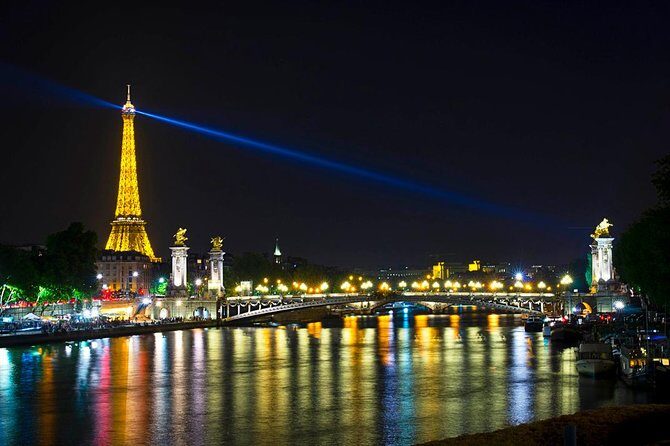
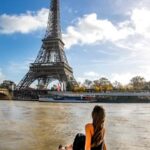
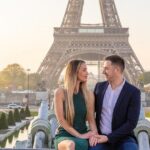
Stop 3: Eiffel Tower over the Seine—angles, light, and confidence
After the Louvre, the lesson heads to the Eiffel Tower area for another 30-minute photography segment. You’ll photograph the tower with the Seine in the frame, and the stop’s admission is also listed as free.
This is the money stop for many people, but it’s also the place where first-timers often feel stuck. You can point your camera at the tower and get a souvenir photo. The difference is learning how to turn that into a story photo: the right perspective, the right separation between tower and water, and exposure that keeps both highlights and darker areas under control.
Guides repeatedly emphasize two things here:
- Composition that uses the scene around the tower, not just the tower itself.
- Camera settings that help you handle changing brightness, especially as the day moves toward evening.
If your departure is closer to night, you may get coaching that leans toward longer exposure work. Some reviews specifically mention long exposure lessons using a tripod, with exciting effects you can print and enlarge back home. Even without going fully night mode, you’ll benefit from learning how your camera reacts as light fades.
One practical note: you can ask about a tripod on request. If you care about longer exposures or stable compositions across the Seine, that tool can be a game-changer.
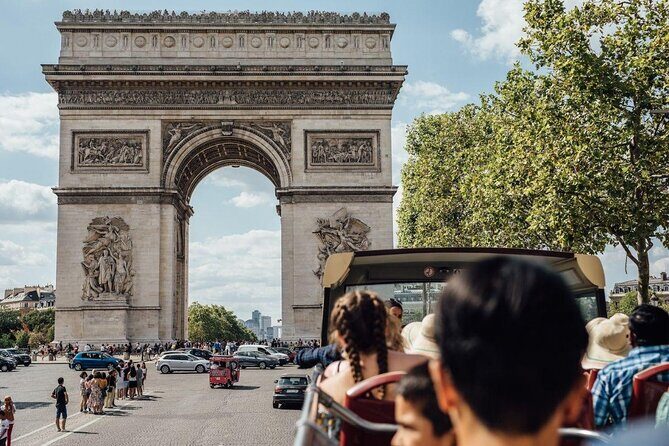
Stop 4: Place de la Concorde—finish with iconic Paris scale
The final photography stop is Place de la Concorde, again about 30 minutes. You’ll photograph the Champs-Élysées direction and/or the fountains in this major square, with free admission listed for the included stops.
This part works like a graduation project. After three landmark stops, Concorde gives you a wider, more open frame—often easier to experiment with horizons and scale. It’s also a good place to practice what your guide has been coaching: keep shooting, compare your versions, and decide which framing actually communicates your vision.
If you get a guide who likes to teach you to see, Concorde is a great final lesson. You’ll have enough variety to try:
- wide framing for city context
- tighter crops for repeating patterns
- versions with fountains for texture and movement
Because the tour ends in this area, it’s also where you can ask quick questions to lock in what you should try on your own afterward.
You can also read our reviews of more photography tours in Paris


Private instruction (not just a walk): what you’ll learn in real terms
This is marketed as a masterclass, and the best way to understand it is this: you’re getting hands-on coaching during the walk. Reviews highlight that guides ask about your interests first and then tailor the pace and instruction to fit.
Here are the big skills that show up again and again across the experiences:
- Composition that feels intentional: foreground, leading lines, and where to place the main subject in the frame
- Lighting and exposure guidance: not only what to shoot, but how to get the camera to behave in that light
- Confidence with settings: guidance toward manual or aperture priority use, depending on your comfort level
- Techniques for low-light situations: especially if your departure lands near evening, plus tripod support when needed
One review detail that’s especially useful: a guide helped a participant use the camera’s app features beyond automatic settings for low light. That suggests guides pay attention to what gear you actually bring, even though the expectation is a DSLR. If you’re bringing a DSLR, you’ll almost certainly get more direct instruction, but the broader point is: you should show up willing to learn your gear.
For solo travelers, this can be a relief. You’re not stuck waiting for the group to catch up. One solo traveler described getting more value from a 3-hour private instruction session than from group classes. That tracks with the structure: short shooting windows, constant feedback, and a guide who stays focused on your questions.
Tripod, rain, and the reality of Paris weather
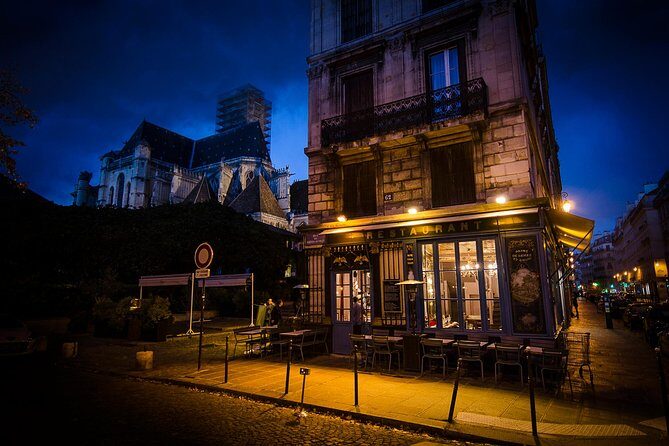
The tour runs in all weather conditions, so dress for actual Paris, not postcard weather. If it rains, you’ll still be out there shooting—but you may need to adjust how you work your camera. A wet square is different from a sunny square. Reflections, darker contrast, and slippery footing all change your shots.
Tripod policy is simple: tripod is available upon request. If you want long exposure effects, this is the time to ask. Guides also appear to adapt to conditions. One review described switching plans mid-tour by using the Metro and focusing on areas around Palais Royal and the Louvre region, plus taking shelter in a nearby café. The takeaway for you: don’t worry if the weather forces adjustments. The point is to keep you shooting and keep the learning moving.
Also remember you’re doing a walk. That means comfortable shoes matter. You’ll be stopping often, and if you’re constantly stepping around to frame shots, blisters will steal your attention fast.
Price and value: why $205.59 can make sense
At $205.59 per person for about 3 hours, it’s not a budget activity. But here’s where the math starts to make sense for the right traveler:
You’re paying for:
- a professional photographer guide
- a local guide
- a private tour experience with a max of 4 people
- structured time at major photo locations with feedback
If you’ve tried generic walking tours, you know the usual problem: the guide points, you take photos, and you move on. This is different because you get instruction tied to what you’re doing. That’s valuable if you want better results quickly—especially if your goal is to learn settings, composition, and timing rather than just collecting landmark images.
There’s also a subtle value factor: entrance tickets for the main stops are noted as free. So you’re not paying extra at each site just to take photos. Still, the basics remain on you: transport to and from attractions isn’t included, and you’ll bring your own camera.
Bottom line: if you want technical improvement and clearer results, a guided session here can be a smart shortcut. If you only want photos taken for you with no instruction, this might feel too teaching-heavy. The reviews suggest most people who enjoy it are there to learn.
Who this tour suits best—and who might want a different plan
This tour fits best if you’re one of these:
- You want personal feedback on composition and camera settings
- You enjoy learning on-site rather than in a classroom
- You want a small-group experience focused on your goals
- You’re excited by big landmarks like Notre-Dame, the Louvre pyramid area, the Eiffel Tower by the Seine, and Concorde
It’s also good for all levels, from beginners to advanced shooters, because the guide can likely calibrate the instruction pace. Reviews show guides helping people shoot in manual or understand exposure, while others focus on perspective rather than heavy technical talk.
You might skip it (or at least compare it) if:
- You expect a studio-style photoshoot with no walking
- You don’t want any camera coaching and just want scenery
- You can’t bring a DSLR and aren’t open to adapting your approach
A quick playbook for better photos before you even arrive
You’ll get more out of the session if you show up with a plan. Here’s a simple approach:
- Bring a DSLR and know your basic modes (at least aperture priority vs manual)
- Decide your goal: sharp architecture, night/low-light, long exposure, or “better framing”
- Bring a charged battery and empty memory space
- Wear shoes that handle repeated stops and uneven pavement
- If you want long exposure looks, ask about tripod early
If you want night-style results, remember the schedule choices matter. Choose a departure time that matches what you want to practice: daylight for crisp architecture, evening for lower-light exposure lessons.
Should you book? My honest call
Book this if you want Paris photos that look more like your work and less like a quick landmark snapshot. The combination of major sites plus private, practical coaching is where the value lives. Guides named in reviews—Clara, Michiru, Federica, William, and Alexander—sound like they focus on patience, clear instruction, and making sure you actually leave with usable skills, including confidence with settings and better composition habits.
Skip it if you’re mainly after a casual walk or you’re expecting the guide to take photos for you. Also, if camera learning will stress you out, make sure you’re ready to ask questions and try settings in small steps.
If you’re the kind of traveler who likes returning home with photos you can explain—why you framed it that way, why you chose that exposure—this masterclass is likely a great match.
FAQ
How long is the Paris Photography Masterclass?
It’s listed as about 3 hours.
Where does the tour start and end?
It starts at 3 Pont Marie, 75004 Paris. The tour ends near Place de la Concorde (with the meeting point listed as Concorde – Quai des Tuileries, 75008 Paris), and the exact end can vary depending on walking pace.
Is this a private tour?
Yes. It’s private, with a maximum of 4 people per booking.
What camera should I bring?
You should bring your own DSLR camera. A tripod is available upon request.
Are attraction tickets included?
For the listed stops, the admission tickets are shown as free (Notre-Dame de Paris, Louvre Museum, Eiffel Tower, and Place de la Concorde).
Can I get a refund if my plans change?
Yes, you can cancel for a full refund if you cancel at least 24 hours in advance of the experience start time. Free cancellation is offered.